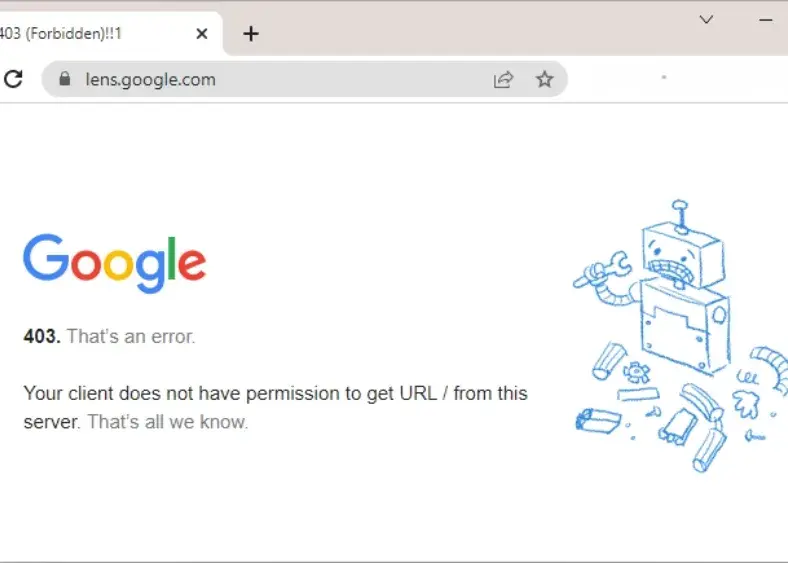
On Google Chrome browser, it can be really agonizing to encounter an error like “403 Forbidden”, especially when your task has gotten too serious. This error informs you that for some reason, access has been denied to whatever resource you requested. Luckily, there are quite a few methods you can use to troubleshoot and resolve the problem. This guide will explain to you how to resolve this problem in three different ways. So, Let’s dive into the steps!
Method 1: Flush DNS and Reset Winsock
The first method is to use Command Prompt to flush the DNS cache and reset the Winsock catalog. Follow this process:
1. Open Command Prompt
- Type “Command Prompt” in the search bar and click to open it.
2. Flush DNS
- In the Command Prompt window, type the following command:
ipconfig /flushdns - Press Enter. You should see a message indicating that the DNS cache has been successfully flushed.

3. Reset Winsock
- Next, type the following command:
netsh winsock reset - Press Enter. You will receive a confirmation that the Winsock catalog has been successfully reset.

4. Close Command Prompt
- You can close the Command Prompt now as you have completed this step.
You May Like: How to Update and Enhance Internet Speed and Ping Using TCP Optimizer: A Step-by-Step Guide for a Faster Web Experience! 2024
Method 2: Adjust Network Settings
The worthy second way is by using the Control Panel to examine and adjust the network settings.
1. Open Control Panel
- Type “Control Panel” in the search bar and open it.
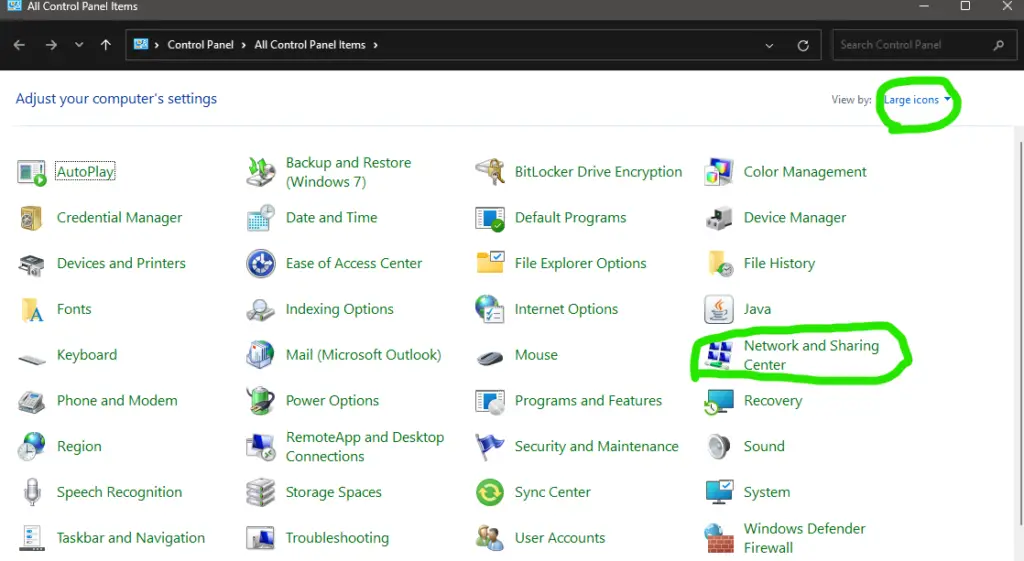
2. Navigate to Network and Sharing Center
- Select the Large Icons view to find Network and Sharing Center.

3. Select Your Network
- Click on the network you are currently connected to.
4. Access Network Properties
- In the network status window, click on Properties.
5. Uncheck Internet Protocol Version 6 (IPv6)
- Make sure that the checkbox for Internet Protocol Version 6 (IPv6) is unchecked. This is an important step as it can affect connectivity.
6. Set DNS Manually
- Click on Internet Protocol Version 4 (IPv4) and then click on Properties.
- Choose the option that allows you to use your own DNS. Input the following DNS addresses:
- Preferred DNS: 8.8.8.8
- Alternate DNS: 8.8.4.4

7. Close All Windows
- After entering the DNS information, close all the open windows.
You May Like: How to Make Your Internet Faster: Steps to Lower Ping and Fix Packet Loss
Method 3: Clear Browsing Data in Google Chrome
In case the browser methods did not provide a solution, you can opt for clearing your browsing data.
1. Open Chrome Settings
- Click on the three dots in the upper right corner of your browser to access Settings.
2. Navigate to Privacy and Security
- From the left sidebar, click on Privacy and Security.
3. Clear Browsing Data
- Look for Clear browsing data and click on it or simply click both
Ctrl + Htop open the history tab.
4. Select Data to Clear
- Make sure to select all data you want to clear.
Please note that this action will sign you out of all websites you are currently logged into.

“Basic” is much faster and keeps system capacity clear for frequently used files, while Advanced goes further and enables the cleaning of a more intricate range of files.
| Feature | Basic | Advanced |
|---|---|---|
| Options Available | Limited to essential browsing data | Provides detailed control over specific data types |
| Data Types | – Browsing History – Cookies and Site Data – Cached Images and Files | – Browsing History – Download History – Cookies and Other Site Data – Cached Images and Files – Passwords and Other Sign-In Data – Autofill Form Data – Site Settings |
| Customizable Time Range | Yes (Last hour, Last 24 hours, Last 7 days, Last 4 weeks, All time) | Yes (Same options as Basic) |
| Focus | Quick and simple data clearing | Comprehensive and detailed data clearing |
| Ideal For | General users who want a quick cleanup | Advanced users or those needing precise control over data |
| Impact on Autofill and Passwords | Does not delete saved passwords or autofill data | Can delete saved passwords, autofill data, and site settings if selected |
5. Confirm Your Selection
- Click on Clear data and confirm your selection.

This action shall erase all Cash, Cookies and Website data, so possibly all conflicts will be solved that would lead to 403 Forbidden errors.
Lastly
You may take the mentioned measures to manage and resolve the tire-some 403 Forbidden error in Google Chrome. They deal with different possible causes of the problem-from DNS failure to the wrong settings of the browser. These may include flushing the DNS or modifying the network settings, clearing the browsing data, or simply modifying certain options in Chrome-it should bring you back to the right way to access resources. So, my dear, good luck with fixing it.


